
|
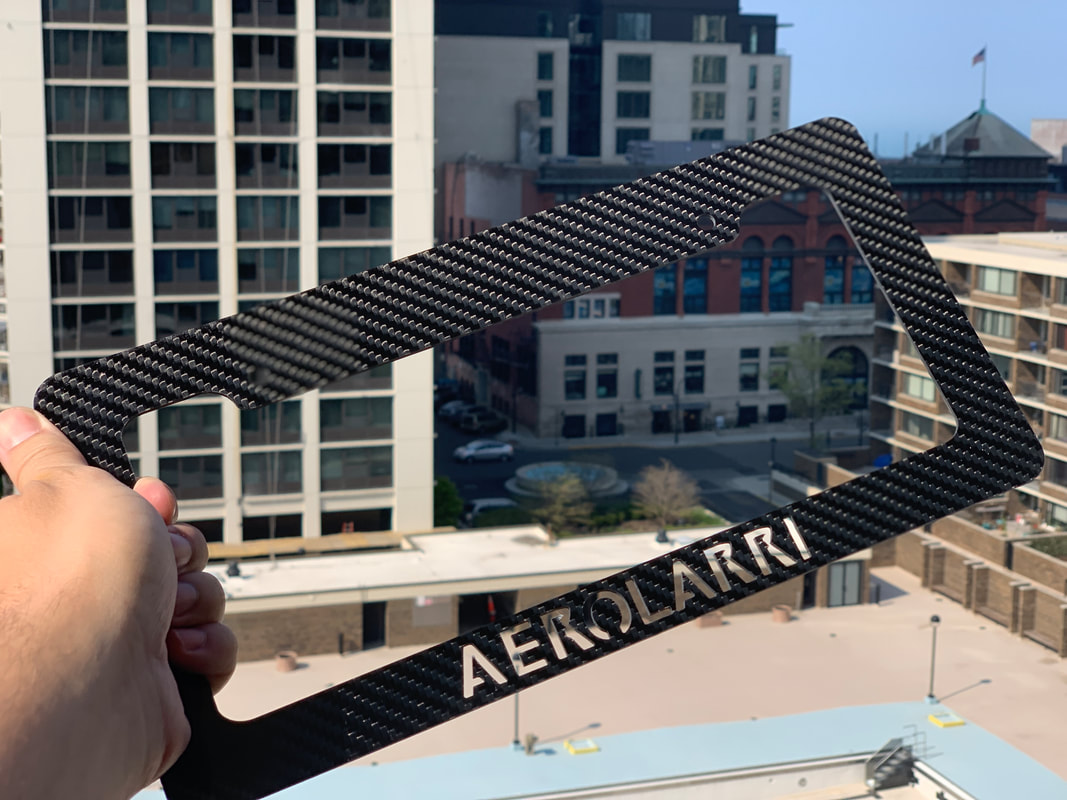
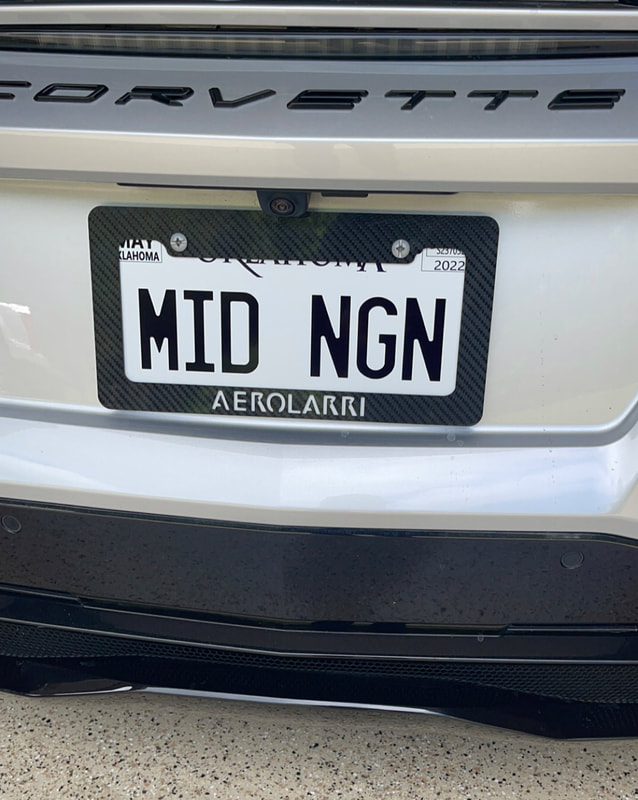
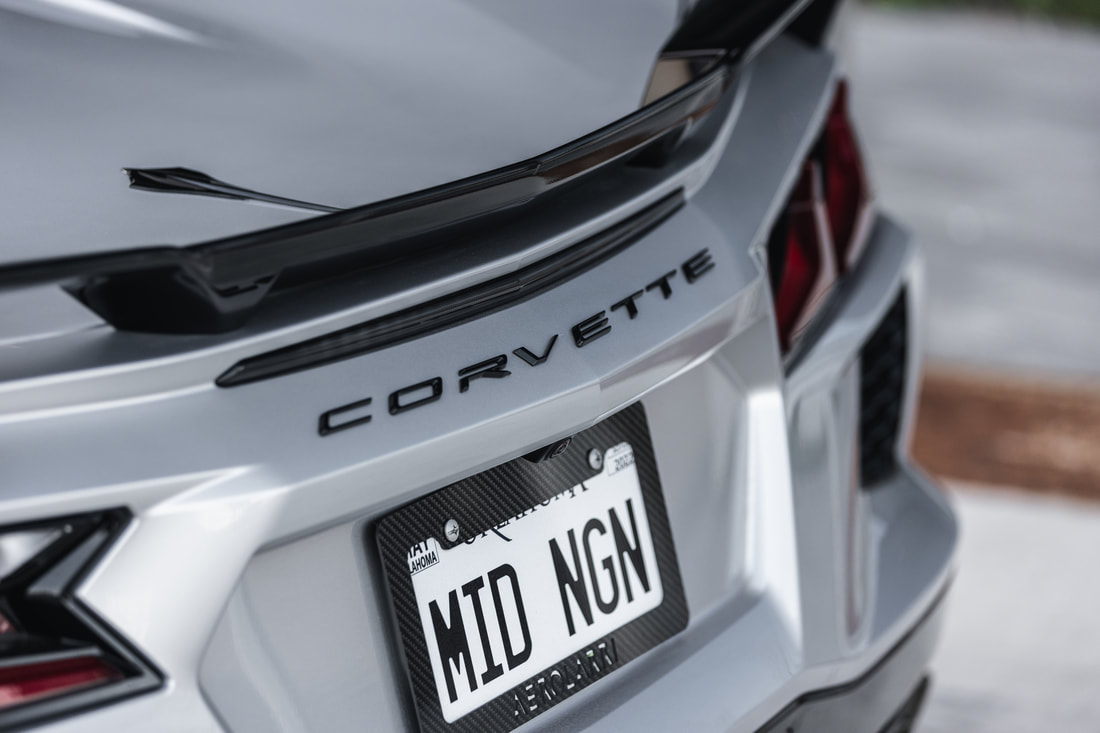
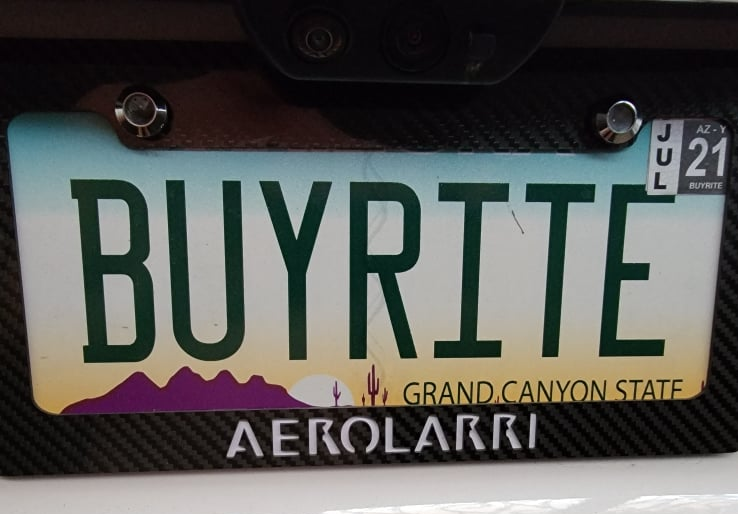
AEROLARRI License Plate Frame
Solid Carbon Fiber - From the front all the way to the back side - Body color-matched background instructions are below. Price: $129 - Free Shipping |
|


| color_project_templates_license_plate_frame.pdf |
Instructions for AEROLARRI Plate Frame Color Background:
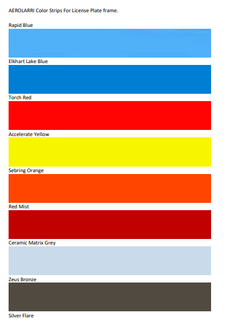
1- Print the .pdf with the color strips. (Make sure the ink is full for proper color results)
2- Cut out the color strip exactly on the edge of the rectangle.
3- Place color strip color-side-down onto the sticky side of clear packing tape. The tape length should be around 9 inches long. Note: place the strip length-wise in the middle of the tape.
4- Cut the ends of the tape around ¼ inch away from the ends of the color strip.
5- Roll out another strip of packing tape around 9 inches long.
6- Carefully mate the sticky sides of both tape lengths together. Press sticky onto sticky.
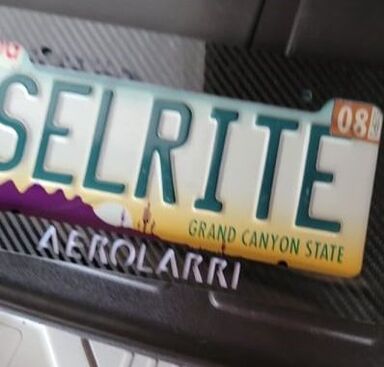
7- Place the color-side of the tape sandwich behind the AEROLARRI letters so it fills all the letters. This goes onto the back side of the frame.
8- Press the excess sticky ends to the plate frame.
9- Flip the frame right-side up. Put onto a cutting board.
10- Using a razor blade, cut the excess tape along the edge of the frame.
11- You’re done!!! Now the colored background is waterproof with a gloss finish.
1- Print the .pdf with the color strips. (Make sure the ink is full for proper color results)
2- Cut out the color strip exactly on the edge of the rectangle.
3- Place color strip color-side-down onto the sticky side of clear packing tape. The tape length should be around 9 inches long. Note: place the strip length-wise in the middle of the tape.
4- Cut the ends of the tape around ¼ inch away from the ends of the color strip.
5- Roll out another strip of packing tape around 9 inches long.
6- Carefully mate the sticky sides of both tape lengths together. Press sticky onto sticky.
7- Place the color-side of the tape sandwich behind the AEROLARRI letters so it fills all the letters. This goes onto the back side of the frame.
8- Press the excess sticky ends to the plate frame.
9- Flip the frame right-side up. Put onto a cutting board.
10- Using a razor blade, cut the excess tape along the edge of the frame.
11- You’re done!!! Now the colored background is waterproof with a gloss finish.
This picture below is just an example of the .pdf document. Do not print this. You must print the .pdf file above!
|
|