AEROLARRI App & HoloSpect Instructions & Info
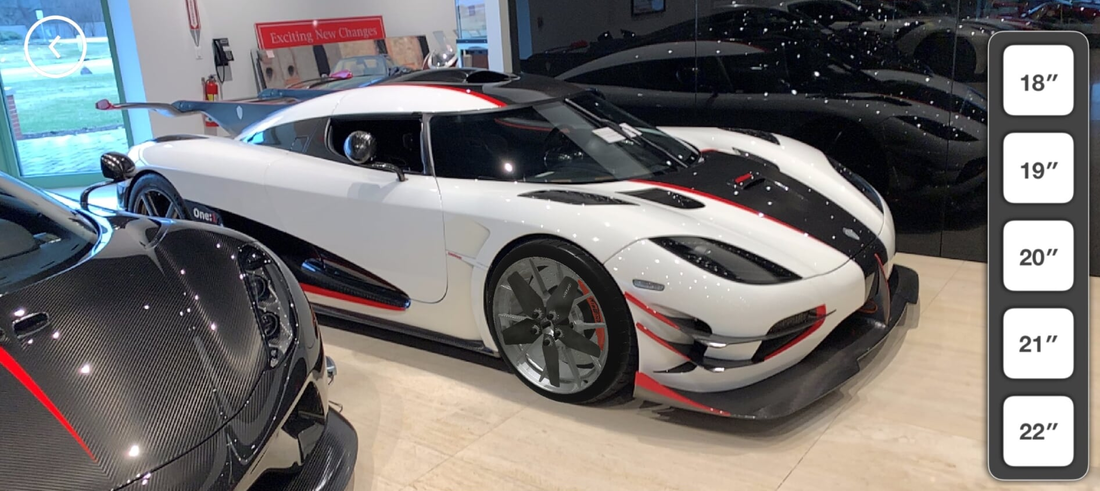
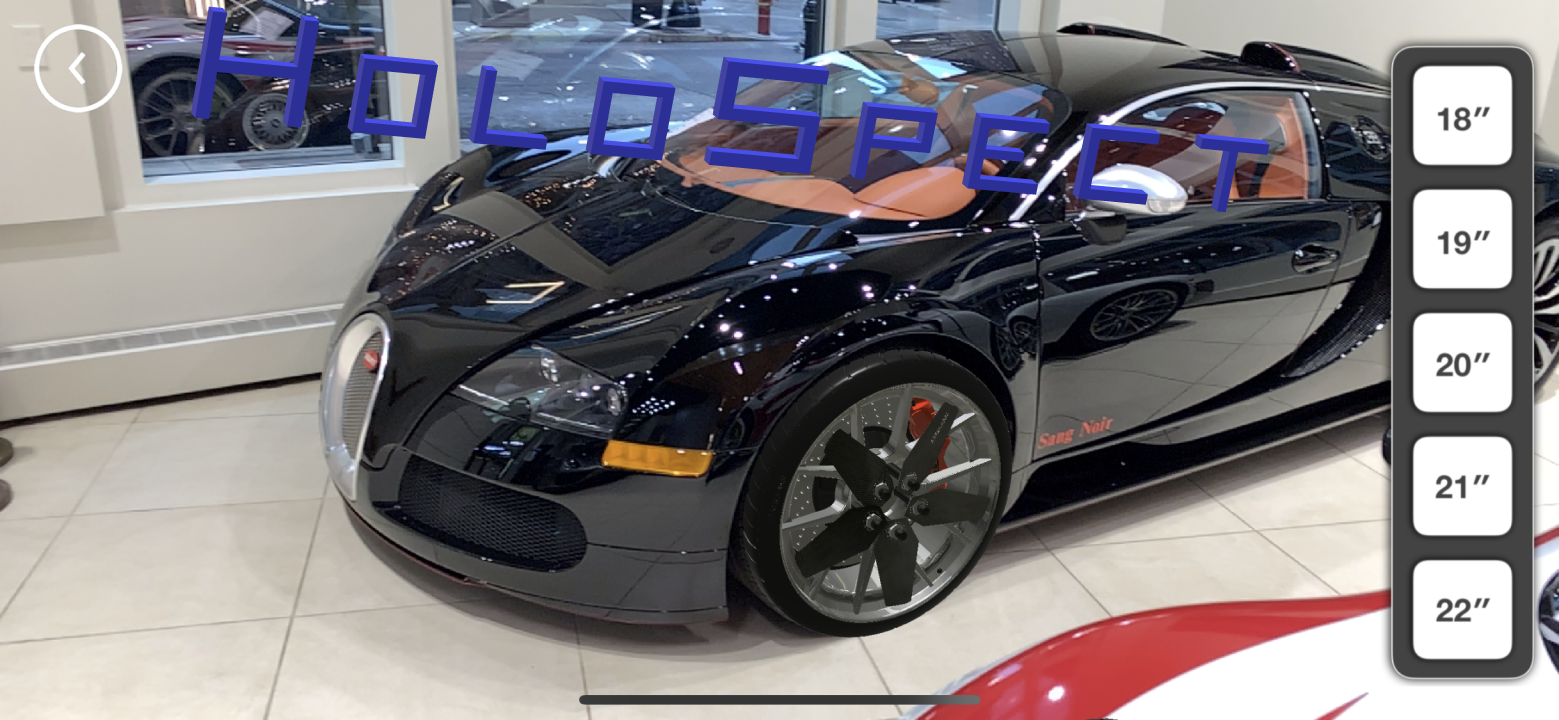
"See any wheels on any car in 3D." Available now- Add your styles to an exclusive HoloSpect catalog.
GET HoloSpect now HERE for free.
GET HoloSpect now HERE for free.
HoloSpect Instructions
1) Watch the beginning of this video. It will explain a lot.
1) Watch the beginning of this video. It will explain a lot.
2) Always point the blue dot at the base of the car's left wheel. The other wheel will automatically be placed to the right of that left-most wheel. - Imagine you are looking at the side of your car. If your car is facing to the right, then the left-most wheel is the rear wheel. If the car is pointing to the left, the left-most wheel is the front wheel.
3) Try to be placed perpendicular (like a T) to the car when placing the wheel. Then you will not need to twist the HoloSpect wheels to align them to be parallel with the side of the car.
--- Pro tip- The light-source for the HoloSpect wheels is behind you. So if you want to darken the tires and wheels, place the wheel in any non-perpendicular angle, and then twist the wheels so they are flush.
4) Simply highlight the HoloSpect wheel you want to change (or both at the same time) by pressing on that wheel.
5) Then open the customization menu button on the top right (gear icon). This will allow you to choose sizes and finishes. for both or independently. Only select the one wheel you want to change independently. Otherwise they will both change equally. This is used for staggered wheel setups where the front wheel is a smaller size than the rear.
--- Pro-tip. You can twist the front wheel independently to make the wheel looked turned for those cool-style pictures.
6) Turning (twisting) wheels to align with the body direction is easy. Just use both fingers on that wheel and move the fingers in opposite directions to cause the turn. NOTE: once you have it turned correctly, you must 1) move your 2 fingers close together on the wheel and lift them off at the same exact time. Otherwise the wheel will jump towards the last finger lifted. If that ever happens, you will just need to drag the wheel back into position.
7) Dragging wheels into position is as easy as pressing that wheel and dragging it across your screen to where it looks best. You can also press the selected wheel and pan the camera also. Both ways work.
8) Resizing the wheels is easy with a press of the 18", 19", 20", 21" and 22" sizes.
9) If you go to larger sizes, you can effectively "lower" the car suspension by using the Up and Down arrows. They are set to 1/4 inch increments, per press. This is also useful if the car is parked on a hill.
10 It is helpful if once you place the first wheel, walk over to it and look from the top-down to see if it is reasonably flush with the fender.
Ok! That's it! I was hoping this would be sooo simple no instructions would be needed, but I wrote this anyway.
APP Tips and Tricks:
The AEROLARRI AR Magazine app is around 10x more powerful than anything before, so you may want to follow these to get the best possible experience.
HoloSpect-specific instructions Below:
Performance Tips and Tricks:
1) Restart your phone before each use. And wait a while for the phone to warm up.
2) Close all open programs.
3) Restart the AR scene or whole app if the frame rate falls. The app is constantly memorizing new things in your real environment. Eventually, the memory used can get excessive and cause a frame rate drop (choppy video).
Note: As the app runs, the chip, display and battery get hotter and memory gets used. At a certain point, due to Apple/s iOS 13.1 + updates, processor throttling may reduce the framerate. Follow 1) + 2) to reset.
Operational Tips and Tricks:
1) Your environment must be very well lit.
2) When opening a scene, the blue circle changes size based on what you show it in the environment. This will scale the initial object to the size of the blue dot. The smallest dot is usually best. If the object it too big or small, you can do any of the following: 1) reset the AR scene 2) switch back and forth to a different model scene 3) restart the whole app.
---This happens due to abnormal things in the environment which the program uses as anchors. Anything can cause it, but the likely problems are wet or reflective surfaces, ground that is too much the same (no markings), ground that has too many markings, areas that are too small or too big where the horizon is not defined, moving things. It is actually really good at solving these problems, but it can also get tricked.
3) If the car runs too far away from you, or you move to another location, just restart the scene.
4) To screen record on iOS you will need the Screen Recording button in the Control Center (the menu which opens when swiping from the top-right). If you have not yet added this, simply go to Settings -- > Control Center -- > Customize Controls -- > and activate Screen Recording.
5) For recording audio during Screen Recording, “long-press” the Screen Recording button and activate the mic.
6) Do not use in rain or on a reflective surface. The program will get confused and objects might float away.
7) Allow access to the Camera upon first startup.
8) In order to change the wheels, colors, open and such, the car must be fully stopped. Every time you come to a stop, the car will park itself and allow for those menu buttons to activate. There will be a slight delay switching out of gear into drive or reverse as a result.
--For the Issue #2 Rocket cars the air brakes can open when the car is in motion. Opening them while in motion actually slows the car! But the must be close to move again.
9) There is no sound other than the intro video (for now).
10) There is a slight lighting bias on the one side of the cars. This is like a 3:00 pm lighting angle. One side is bright like in direct sunlight, while the other side is shaded. Simply turn 180* before loading the car to get the desired bright or dark side for your environment.
11) The app has 3 environments running at the same time: 1) the real environment it maps, 2) the car lighting environment, and importantly 3) the invisible environment. The invisible environment is a whole 3d model which is unseen. It is used to only to cause reflections on the car. You can change the reflections from the invisible environment using the top center button. You can change from various environments which suit the current weather and surroundings.
WARNING: Be aware of your surroundings when using the App! DO NOT walk onto public streets or violate pedestrian laws (or any laws), regardless of what you have seen anyone else do. Real cars can hurt! Drivers will not understand what you are doing in the road! They will think you are crossing and might keep their car's momentum expecting you to move. This means you might get hit by a car. Also don't trespass and violate any law and/or norm when using the App. Your safety is the most important matter to us and I/we, as well as you should take that seriously. AEROLARRI (a subsidiary of Alarri LLC) and/or Chet Baigh does NOT accept any liability for you getting injured, killed, or any other repercussions while using and/or misusing the App. Check my/our Terms here for legal and unabridged version of this disclaimer and your agreement of using the Services and/or Products / App. The use of the App by children under an age required to accept these Terms, within your jurisdiction, requires documented pre-approval by a parent or guardian. See the linked Terms page for more.
HoloSpect is inside the AEROLARRI app

For APPLE. Click the Picture, or Link below to get the App.
Copy/Paste Link below to Share it also.
(for Apple / iOS):
https://apps.apple.com/us/app/aerolarri/id1480286773

For ANDROID. Click the Picture, or Link below to get the App.
Copy/Paste Link below to Share it also.
(for Android):
https://play.google.com/store/apps/details?id=com.aerolarri.armagazine
HoloSpect by AEROLARRI. In the AEROLARRI AR Magazine. *Patent Pending*
GET and use the HoloSpect demo now HERE for free. It takes 1 minute.
"See any wheels on any car" - Available now! No more asking, "Can someone Photoshop these wheels onto my car?"
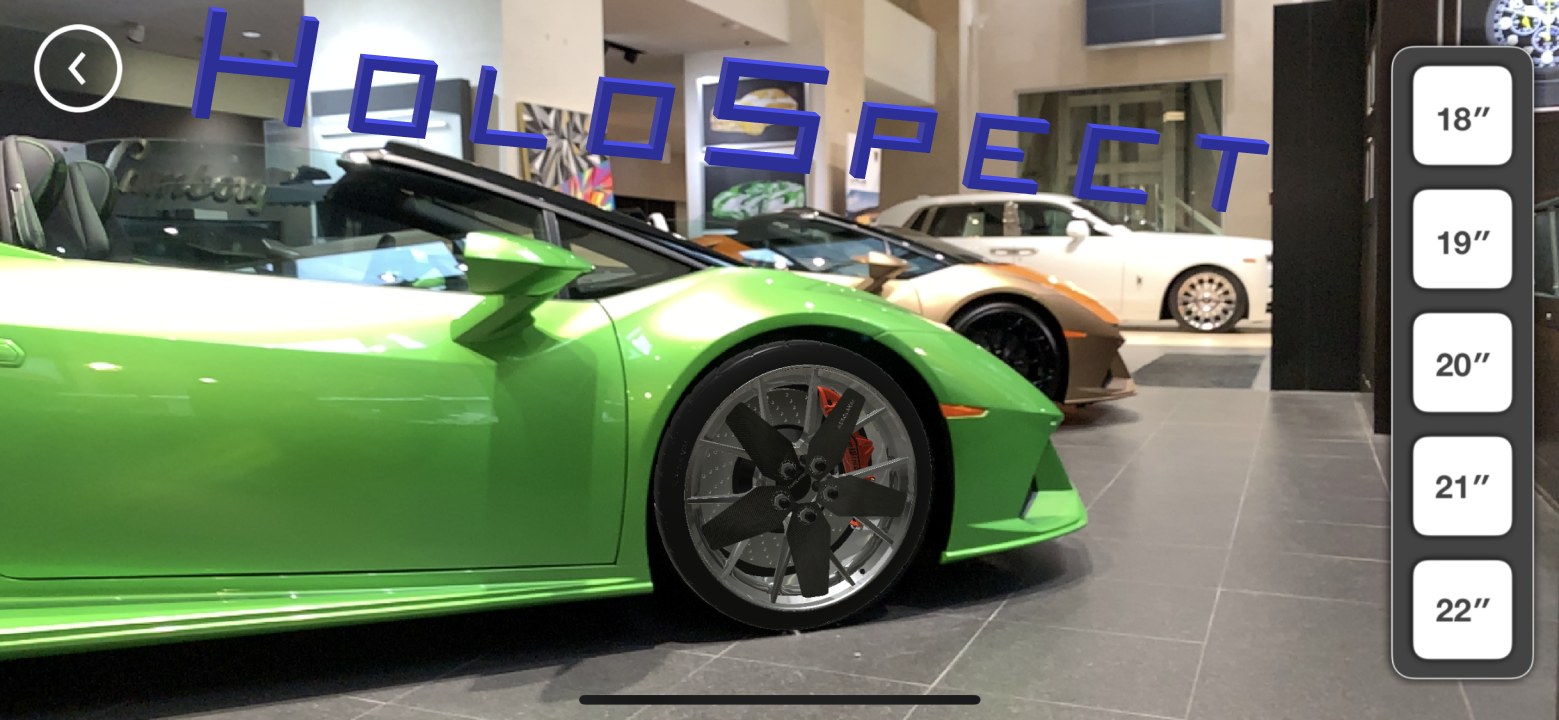
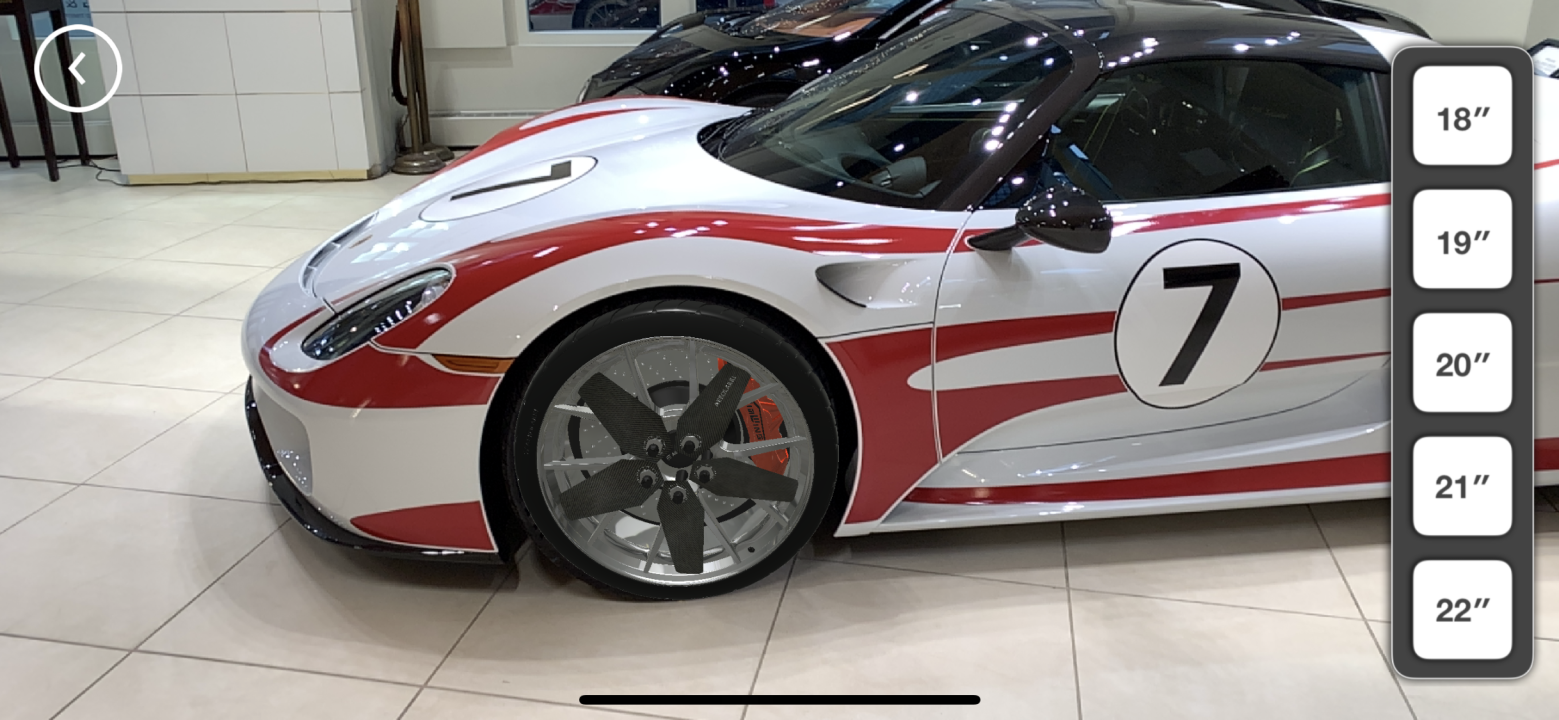
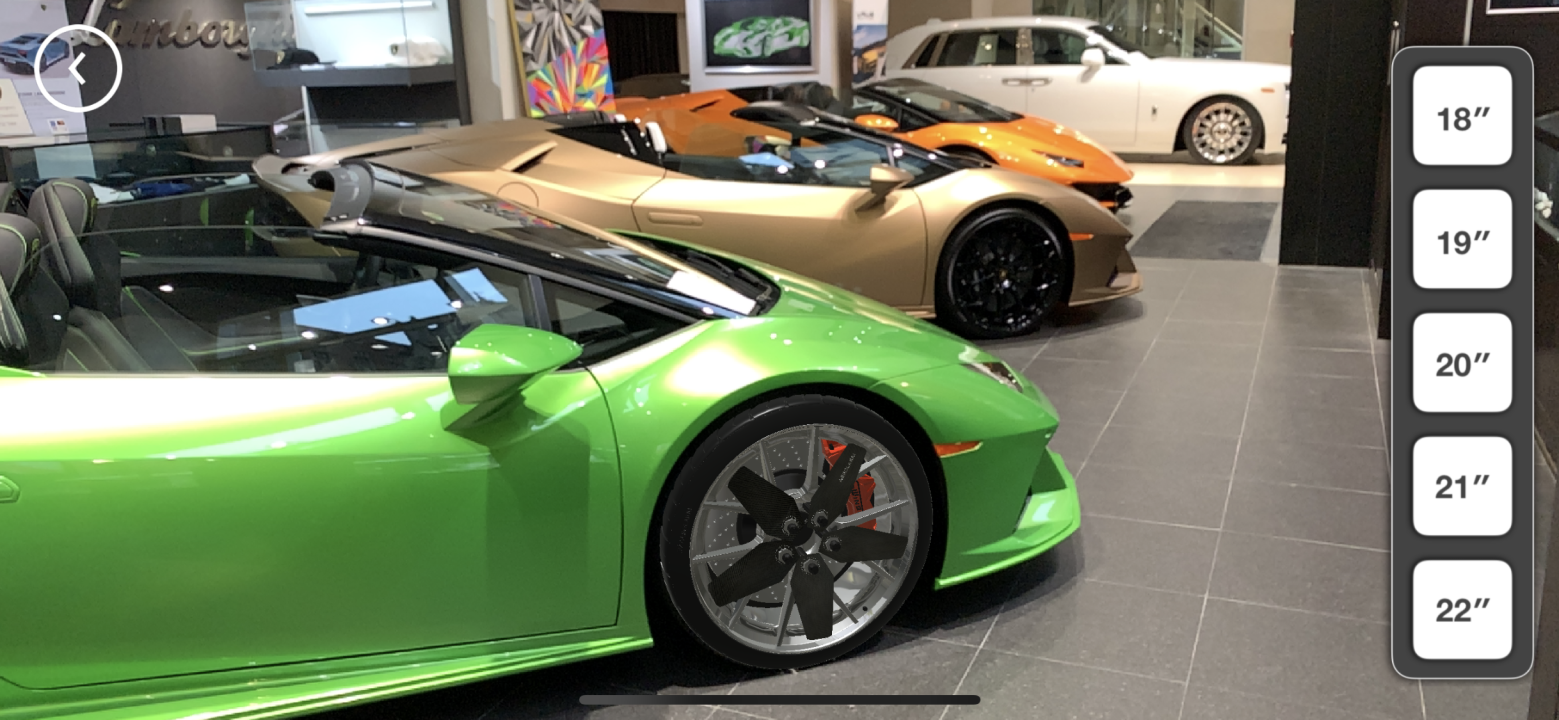
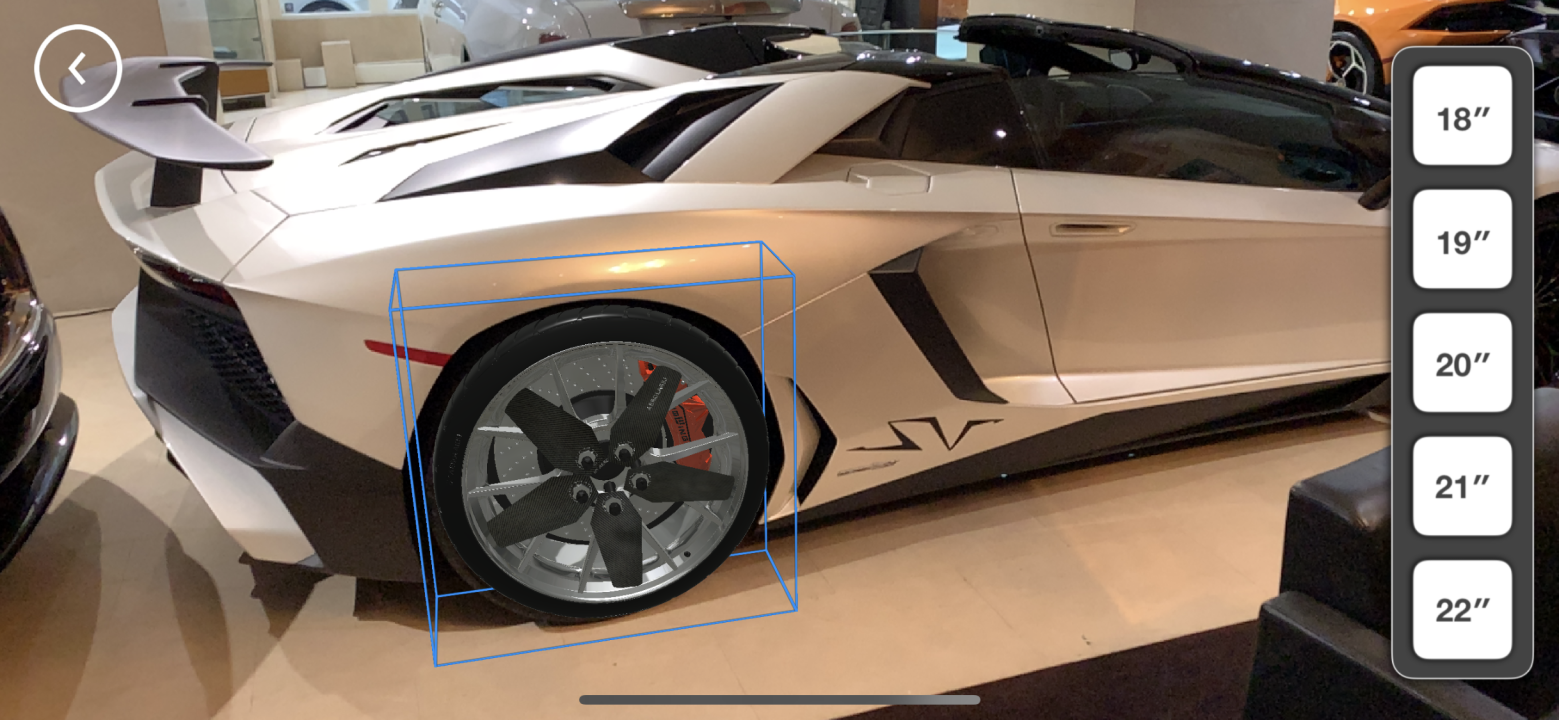
The "HoloSpect" patent pending wheel catalog will allow users to see any available wheel on their own car in their driveway or anywhere else using AEROLARRI’s AR (augmented reality) Magazine platform. The HoloSpect technology enables photo-realistic 3D holographic overlays of real manufacturer wheels to be placed on any car. The HoloSpect wheel visualizer is available within the AEROLARRI AR Magazine framework, and is available for both Android and iOS / Apple smartphones and iPad.
Wheel manufacturers get a dedicated HoloSpect catalog of their wheels within the AEROLARRI AR Magazine's free section. Other brands HoloSpect catalogs will only be available if a user subscribes to the magazine. The 0.5% - 1% of users who subscribe also help subsidize hosting costs for the platform allowing those savings to be passed back to manufacturers with flat-rate pricing. Manufacturers can market their HoloSpect catalog directly to their consumer base without fear of directing users to other wheel brands due to the "paywall" exclusivity. Also, each wheel style will get a web link back to the manufacturer's product page. This keeps users from straying elsewhere
How does it work? It's easy. Manufacturers send the CAD / 3D model of their wheels to us and pay per-style. That's it! Then we go to work and quickly create the catalog.
Everything includes the separate development processes for both Android and iOS.
The price includes:
- 3D model alteration
- Adding other structures like the calipers, rotors and tires
- Artistic rendering
- CGI material editing
- Environmental lighting
- Reflections editing
- File conversion (if necessary)
- Wireframe retopology for polygon reduction (if necessary)
- Upload to app catalog
- AR scene template implementation
- All hosting costs up to 50,000 downloads
Contact us at [email protected] to add your brand's wheels to the HoloSpect catalog and pricing.
Here are some examples:
Do you have a wheel brand interested in using the HoloSpect tool to show your own wheels?
Email us at [email protected]
The name "HoloSpect" comes from the combination of the words “hologram” & “inspect,” “spectacle,” “spectacle,” “spectacular,” “expect,” “spectrum,” “spec-D,” “specs,” “respect,” “spec’d,” and so on.
As a product which is new, it needs a new name. A name which has almost never before uttered- a name which can befit and encapsulate the newness, uniqueness, function and can easily build upon the brands’ connotation.
Don't confuse HoloSpect with HoloSpec, HoloSpeced or HoloSpecd! HoloSpect is correct. Those are useless misspellings.

